The design process explained, step by step
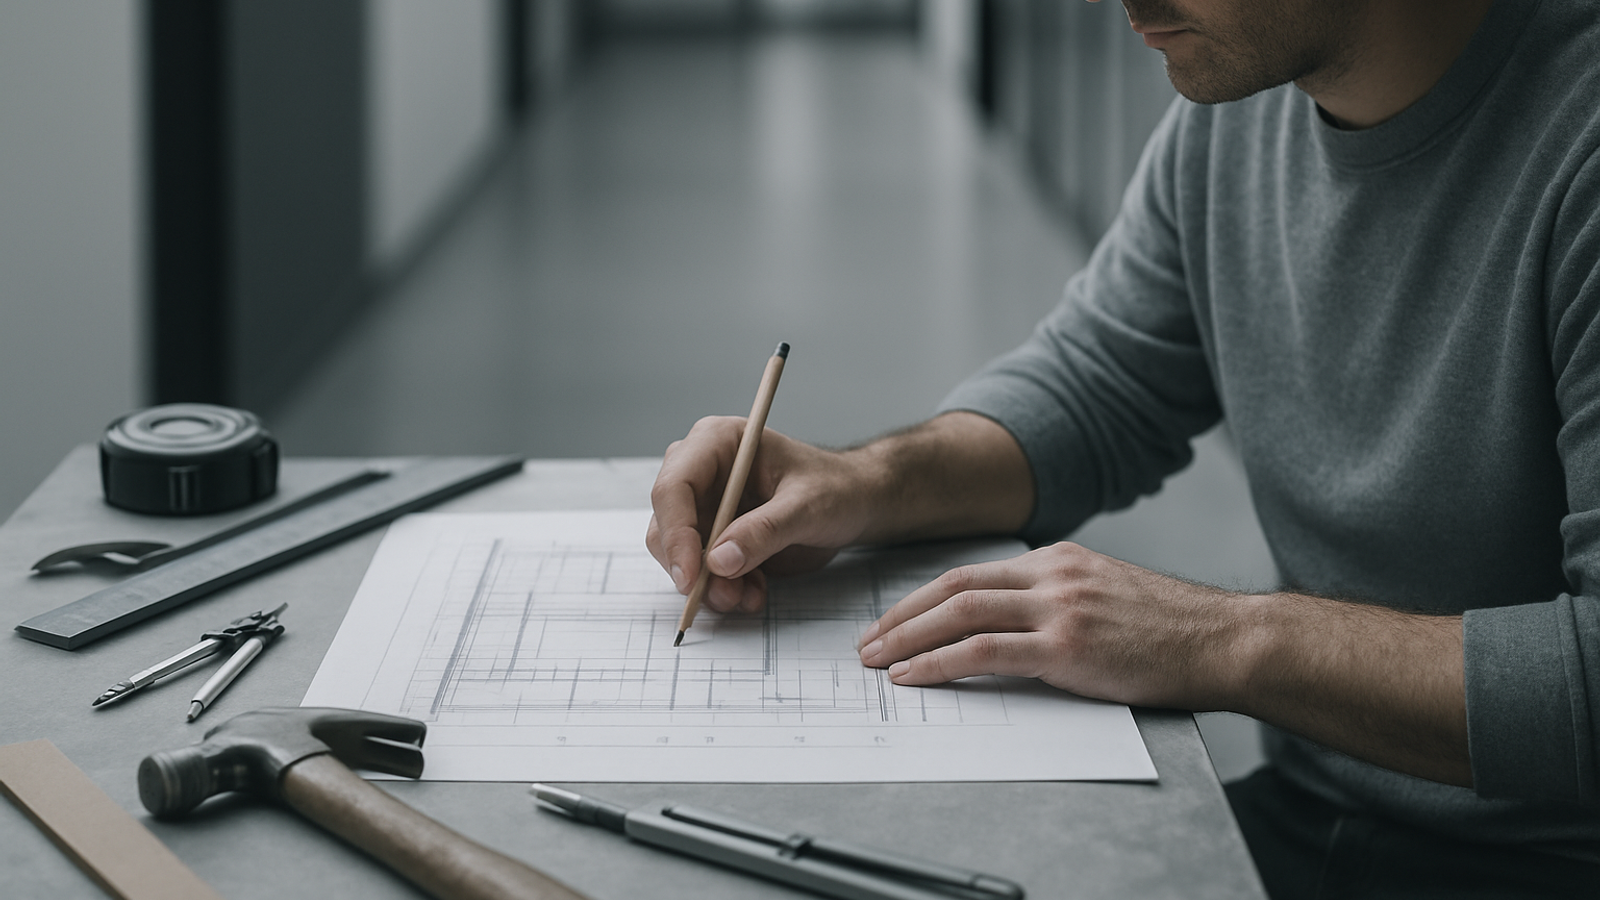
What is the design process, and why does it matter?
The design process is a structured way of moving from a vague idea to a finished, usable result. Instead of jumping straight into colors and fonts, designers follow a series of stages that help them understand a problem, explore possibilities, and refine their choices. Think of it like cooking a meal for guests: you don't grab random ingredients and start heating a pan. You consider who is coming, what they enjoy, what you have available, and only then begin combining things with a plan in mind.
This matters because good design is rarely an accident. When a website feels easy to navigate or a poster instantly communicates its message, that clarity usually comes from careful thinking done long before anything looked polished. The process reduces guesswork, prevents costly mistakes, and gives everyone involved a shared way to talk about the work.
It also makes design approachable for beginners. You don't need to be born with talent to follow steps that professionals rely on every day. The stages that follow apply whether you are building a logo, an app screen, a room layout, or a school project. Each stage answers a specific question, and together they turn scattered ideas into confident, finished work.
Stage 1: Research and understanding the problem
Every strong design starts with understanding, not drawing. Before making anything, you need to know what problem you are actually solving and for whom. A common beginner mistake is treating a design request at face value. If a client says they need a brighter logo, the real problem might be that their brand feels outdated to customers. Research helps you find the deeper need behind the surface request.
Research takes many forms, and it doesn't have to be complicated. You might talk to the people who will use the design, read about similar projects, or simply observe how something is currently used. If you were redesigning a café menu, you might notice that customers struggle to find prices or that the daily specials get overlooked. Those observations become the foundation for every decision later.
It also helps to look at what already exists. Studying similar work shows you common patterns people expect and gaps you could fill. If most competing products use the same layout, that pattern might be a helpful convention rather than something to reinvent. The goal of this stage is not to have answers yet, but to understand the situation deeply enough that your later choices are grounded in reality instead of assumption.
Stage 2: Defining goals and gathering requirements
Once you understand the problem, you turn what you learned into clear goals and requirements. This stage answers the question: what does success look like? Without a definition of success, it's impossible to know when a design is finished or whether it works. Goals keep the project focused and give you something concrete to measure your ideas against.
Requirements are the practical constraints and needs the design must satisfy. These might include technical limits, such as a website that must load quickly on phones, or brand rules, such as using specific colors. They can also include content needs, like the exact information a poster has to display. Writing these down early prevents surprises later, when changes are far more expensive to make.
A simple way to organize this stage is to separate must-haves from nice-to-haves. For a small business website, a must-have might be a working contact form, while an animated intro is only a nice-to-have. This distinction helps you prioritize when time or budget is tight. By the end of this stage you should have a short, agreed list of goals and requirements that everyone involved understands and accepts. That shared agreement becomes your reference point for the rest of the process.
Stage 3: Ideation and early concept sketches
Ideation is the stage where you generate as many ideas as possible before committing to any single one. The purpose here is quantity and exploration, not perfection. Early sketches are meant to be rough, messy, and quick. A famous piece of advice is that you have to get through the obvious ideas before you reach the interesting ones, so producing many options increases your chances of finding something genuinely good.
Sketching by hand is often faster than working on a computer at this point, because it removes the temptation to polish details too early. You might fill a page with small thumbnail layouts for a brochure, each one arranging the same content differently. None of them needs to be beautiful. They just need to help you see possibilities and compare directions side by side.
It helps to explore deliberately different approaches rather than small variations of one idea. If you are designing an app home screen, try one version focused on a big search bar, another built around large image tiles, and another organized as a simple list. Once you have a range of concepts, you can start narrowing down, choosing the directions that best match the goals defined earlier. Ideation gives you the raw material that the next stages will shape into a finished design.
Stage 4: Design development and refinement
In development, you take the most promising concept and build it out with real detail. This is where the design starts to look finished. You choose specific colors, typefaces, spacing, and imagery, and you make sure every element works together as a system. The rough sketch of a layout now becomes an accurate version with actual content in place, so you can judge how it truly feels.
Consistency is the key idea in this stage. A design feels professional when similar elements behave in similar ways: buttons look alike, headings follow the same style, and spacing stays even throughout. Building small reusable pieces, sometimes called components, saves time and keeps everything cohesive. For example, deciding on one button style and reusing it everywhere is far better than styling each button separately.
Refinement means revisiting your choices with a critical eye. You step back, compare the design against your goals, and adjust the details that aren't quite working. Maybe the text is hard to read against a background, or two colors clash. This is careful, patient work, and it often involves many small changes rather than dramatic ones. By the end of this stage, you should have a polished design that feels intentional, though it is not yet final until others have reviewed it.
Stage 5: Feedback, revisions, and testing
No matter how skilled a designer is, they are too close to their own work to see every flaw. Feedback brings in fresh eyes and reveals problems you might have missed. The goal is to gather honest reactions from clients, colleagues, or the people who will actually use the design. It helps to ask specific questions rather than a vague did you like it, such as whether someone can find a particular button quickly.
Testing takes feedback a step further by watching how people really interact with a design. You might ask someone to complete a task, like finding a phone number on a website, and simply observe where they hesitate. These moments of confusion are gold, because they point directly to what needs improvement. Testing does not require expensive tools; watching a few people use your work often reveals the most important issues.
Revisions are where you respond to what you learned. Not every piece of feedback should be acted on blindly, though. Part of the skill is deciding which comments reflect real problems and which are simply personal preferences that conflict with your goals. Keeping the original requirements in mind helps you weigh feedback fairly. This stage often repeats several times, cycling between changes and new feedback until the design clearly works for the people it serves.
Stage 6: Final delivery and handoff
The final stage is delivering the finished design in a form others can actually use. What you hand over depends on the project. A logo might be delivered as several file formats for print and screen. A website design might be passed to a developer who will build it. In every case, the goal is to make the transition smooth so nothing gets lost or misunderstood.
Good handoff includes more than the files themselves. Clear documentation explains how the design should be used: which colors and fonts to apply, how much spacing to keep, and how elements should behave in different situations. This guidance helps others stay faithful to your intentions long after the project ends. For brands, this is often collected into a simple style guide that anyone can follow.
It is also worth reflecting once the work is delivered. Looking back at what went well and what was difficult helps you improve on your next project. Design is a skill that grows through repetition, and each completed process teaches you something. Delivery may feel like the end, but for a thoughtful designer it also becomes the starting point for doing even better work the next time around.
Example
The six stages of the design process at a glance
| Stage | Main question it answers | Typical output |
|---|---|---|
| 1. Research | What problem are we solving, and for whom? | Notes, observations, insights |
| 2. Requirements | What does success look like? | Goals and must-have list |
| 3. Ideation | What are the possible directions? | Rough sketches and concepts |
| 4. Development | How do we build the chosen idea well? | Polished, detailed design |
| 5. Feedback & testing | Does it actually work for people? | Revised, improved design |
| 6. Delivery | How do others use the finished work? | Final files and documentation |
FAQ
Do I have to follow every stage in order? The stages give a helpful structure, but real projects rarely move in a perfectly straight line. You will often loop back, for example returning to research after testing reveals a misunderstanding. Beginners benefit from following the order closely at first, then adapting it as they gain experience and judgment.
How long should the design process take? There is no fixed answer, because it depends on the project's size and complexity. A simple poster might move through all stages in a day, while a full app could take months. What matters more than speed is spending enough time on early stages like research, since fixing problems later is far more costly.
Can I skip research if I already have a clear idea? It is tempting, but skipping research is one of the most common causes of failed designs. Even a quick check of your assumptions can save you from building something that solves the wrong problem. A short conversation or a few observations is far better than none at all.
What if feedback contradicts my design choices? Conflicting feedback is normal and does not mean your work is wrong. Compare each comment against your original goals and requirements. If feedback points to a genuine usability problem, address it. If it is simply a personal preference that undermines the project's purpose, you can respectfully explain your reasoning instead.
Read next
Read more